
How to Butcher a Pig at Home (Step-by-Step Guide for Homesteaders)
Processing your own pork is one of the most valuable skills a homesteader can learn. Raising pigs is only half the process. Harvest day is when all that work turns into food for your family.
Learning how to butcher a pig at home gives you full control over how your meat is handled, cut, and packaged. It also allows you to avoid long processor wait times and customize your pork exactly the way you want it. You aren’t just “cutting up meat”; you are honoring the animal by ensuring every scrap is used and every cut is handled with care.
For first-time pig owners, the process can feel overwhelming. There are tools to gather, steps to follow, and important decisions about how the meat will be cut.
This guide walks through the entire process of home pork processing, from harvest to final cuts, so you can approach butcher day with confidence.
Table of Contents
What You Need Before Butchering a Pig
Preparation makes harvest day far easier. Its the difference between a smooth harvest and a stressful disaster. You cannot “wing it” when you have 250 pounds of warm meat that needs to be cooled quickly.
Once a pig is dispatched the work begins immediately, so it helps to have everything ready beforehand.
Basic hog butchering equipment includes:
- .22 caliber rifle/pistol or Captive Bolt stunner
- Ear and eye protection
- Apron and/or Bib pants, boots, and gloves
- Gambrel or hanging bar
- Rope, pulley, or hoist system
- Several sharp boning knives
- Chainmail glove
- Meat saw or reciprocating saw with stainless steel saw blades
- Large clean tables or cutting surfaces
- Food-grade buckets or tubs
- Hose with clean water
- Coolers or refrigerator space. Or a pickup truck ready to drive to the hanging cooler.
A shaded workspace such as a barn, garage, or covered outdoor area works best.
Cold weather is ideal for processing pork because it helps the carcass cool safely.

Hunters Specialties 644 Magnum Gambrel – 1500 lb Capacity
A simple heavy-duty gambrel that makes hanging and processing hogs much easier in a barn or garage setup.
Check Price on AmazonWork Space Setup
Your workspace should be clean, shaded, and well-ventilated. Most homesteaders use a sturdy outdoor gantry or a strong limb on a tree for the initial harvest, moving to a clean garage or “summer kitchen” for the actual breakdown. Ensure you have heavy-duty tables—polypropylene or stainless steel are best because they can be bleached.
Hanging and Cooling Considerations
This is where most beginners trip up. You cannot process a warm hog into final cuts immediately. The carcass needs to hang in a space between 33°F and 40°F for at least 24 hours to “set” the fat and allow rigor mortis to pass. If you don’t have a walk-in cooler, you’ll need to timed your harvest with the weather or have plenty of large coolers and ice ready. Many homesteaders will transport their carcasses to a local facility to hang for a few days if they don’t have enough room on their farm. Don’t skip this step.
Safety and Sanitation
Keep two buckets of water nearby: one with a mild bleach solution for wiping down tables and one with clean water for rinsing knives. Wear a chainmail glove on your non-cutting hand if you are new to the process.
How Long Does It Take to Butcher a Pig
Most homesteaders process a hog in 3 to 5 hours once the animal is dispatched.
Here is a typical timeline for a home butcher day:
Dispatch and bleeding
10 to 15 minutes
Scalding and scraping or skinning
30 to 60 minutes
Gutting and splitting the carcass
20 to 30 minutes
Cooling and hanging
variable depending on weather
Breaking down the carcass into cuts
2 to 3 hours
Your first time will always take longer. That is normal.
Focus on working carefully and keeping the meat clean.
Move smooth and steady and keep breathing. This will be a bit of a workout.
Do not rush your knife work. Cutting yourself badly mid harvest is a disaster you must avoid.
Harvest Day: Dispatching and Bleeding the Pig
**Prepare the whole harvest and processing area prior to dispatching. **Read this section in its entirety before starting.
Humane dispatch is the first step in processing a hog. The most important part is the first ten minutes. A stressful harvest ruins meat quality by flooding the muscles with adrenaline and lactic acid.
Humane Dispatch
The goal is an instantaneous loss of consciousness. Most homesteaders use a .22 caliber rifle or a captive bolt stunner to quickly stun the pig followed by immediate bleeding.
Aim for the “X” created by drawing an imaginary line from the base of the ear to the opposite eye.

Unless you are processing a lot of hogs or livestock, you don’t need to invest in a captive bolt gun. A .22, 5.56, or 9mm rifle or pistol will do the job just fine. Do not use a larger caliber deer rifle or shotgun or you run the risk of ruining meat. Always remember to use proper firearm safety during this part.
You will know the kill is good when the animal immediately drops to the ground. If it is still standing shoot it again immediately in the brain. Once it drops, watch out for the legs because they will start kicking. This is just the nervous system firing, the animal is unconscious and is not suffering.
Confirm Unconsciousness (extremely important)
You must check the animal for any signs of reflex. This includes checking for a palpebral reflex (blinking), a rhythmic breathing pattern, or a vocalization. If any reflex is detected, the stun must be re-administered immediately. The bleed-out cannot begin until unconsciousness is verified.
Bleeding the Animal
Immediately after the pig is down, you must bleed it. Use a sharp sticking knife to make an incision about 4 inches long starting at the breastbone and cutting toward the jaw. Aim for the carotid arteries and jugular veins.
The actual time for full exsanguination (bleed-out) varies slightly, but typically, the bulk of the bleed occurs within 30 seconds to two minutes. The process is considered complete when the blood flow essentially stops and signs of death are confirmed. Total bleed-out duration is highly dependent on the speed and accuracy of the operator’s cut and the animal’s circulatory status.
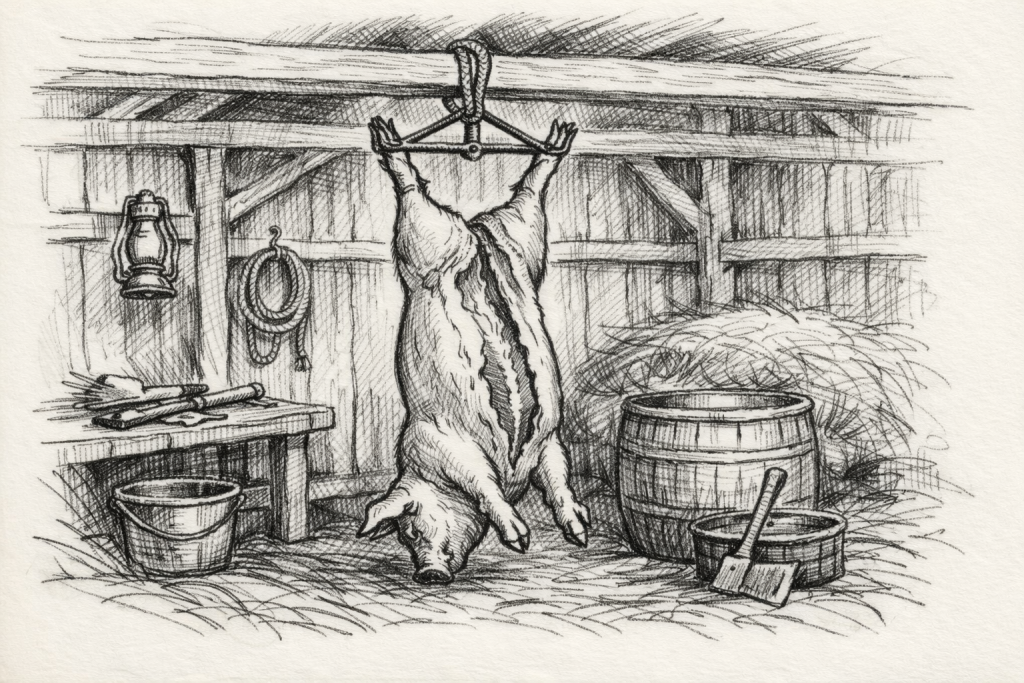
Once the hog is bleeding out hang it by by its hind legs from the gambrel and hoist it up. I highly recommend investing in an electric winch for this part.
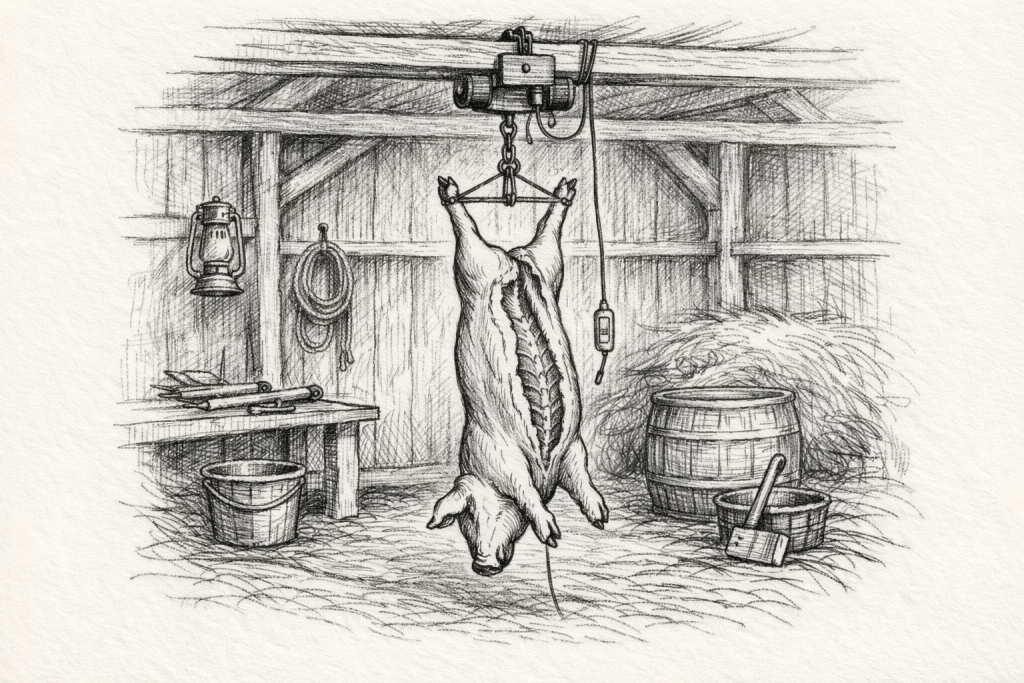

VEVOR Electric Hoist 1760 lbs 120V
A powerful electric hoist for lifting deer, hogs, and larger livestock.
Check Price on AmazonScald and Scrape vs Skinning a Pig
There are two common ways to prepare the carcass before butchering.
Scald and Scrape Method
Traditional pork processing keeps the skin on the pig.
The carcass is dipped in hot water around 150°F. This loosens the hair so it can be scraped off with knives or scrapers.
Benefits of this method include:
- Skin and fat remain intact
- Better bacon and pork belly
- Traditional pork finish
Scalding requires a tank, barrel, or large container of hot water.
Cons: It is physically demanding, requires a massive vat of hot water, and is difficult to manage alone.

Skinning Method
Many homesteaders choose to skin the pig instead.
Skinning is faster and requires less equipment. The skin is simply removed with a knife.
The downside is losing the skin layer and some fat.
If you don’t mind sacrificing the pork rinds and some presentation, skinning is the most efficient way to get your hog from the field to the cooler.
Read our full skinning guide here
Opening the Carcass and Removing Organs
After the pig is cleaned you can open the body cavity.
Carefully make a midline incision from the crotch down to the neck. Use your fingers to shield the knife tip to avoid puncturing the guts. Gravity is your friend here; as you cut, the viscera will begin to roll forward.
Hot tip: stand a bit off to the side and keep your face back in case you accidentally knick the stomach with your knife. Smelling the fermenting insides of a stomach is a right of passage for every person who harvests their own meat, but you’ll thank yourself if you avoid getting the full blast up your nostrils. Trust me, its…a lot.
Once the cavity is open the internal organs can be removed.
Several organs are commonly saved including:
- Liver
- Heart
- Kidneys
- Fat for rendering lard
Place organs in clean containers and keep them cool.

How to Split a Pig Carcass
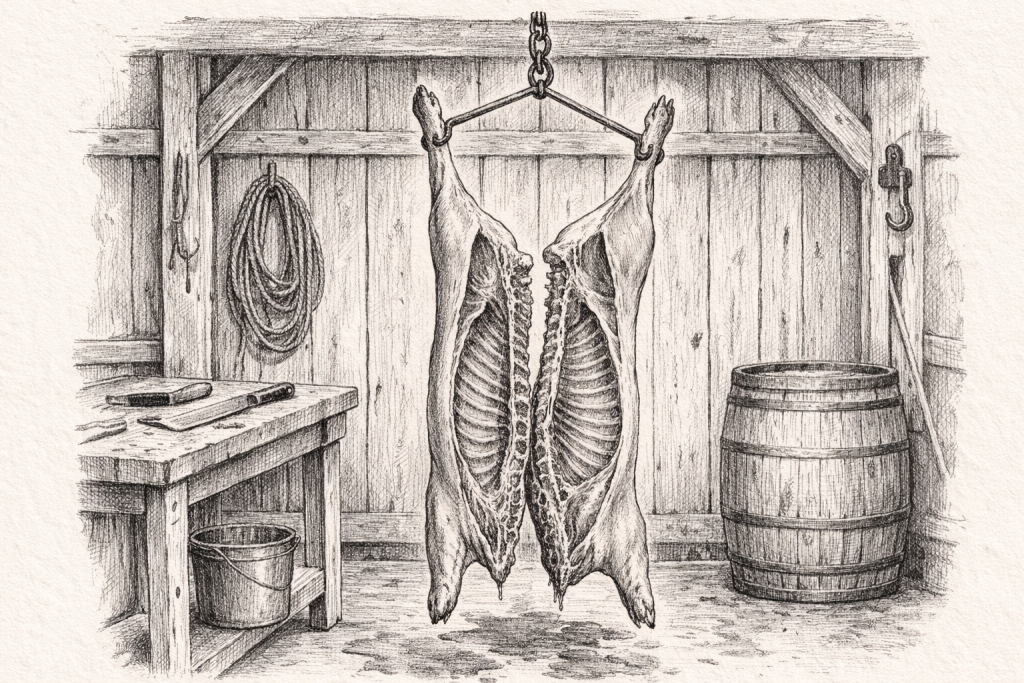
After gutting, the carcass is usually split down the spine.
This can be done using:
- Hand meat saw
- Bone saw
- Reciprocating saw with stainless steel blades
- Heavy cleaver and rubber mallet: If using a heavy cleaver, do not hack at the carcass. Instead use a rubber mallet to pound the cleaver through the carcass. This is not recommend for beginners.
Splitting the carcass creates two halves that are easier to handle and cool.
If temperatures are warm the carcass should hang for several hours before cutting into smaller pieces.
Cooling the Meat
Rinse the internal cavity with cold, clean water. At this point, the “sides” of pork should be moved into a cold environment to chill for at least 24–48 hours.
VEVOR Electric Hoist, 1760 lbs 120V
Cost effective hoist that gets the job done.
Check Price on AmazonBreaking Down the Pig Into Primal Cuts
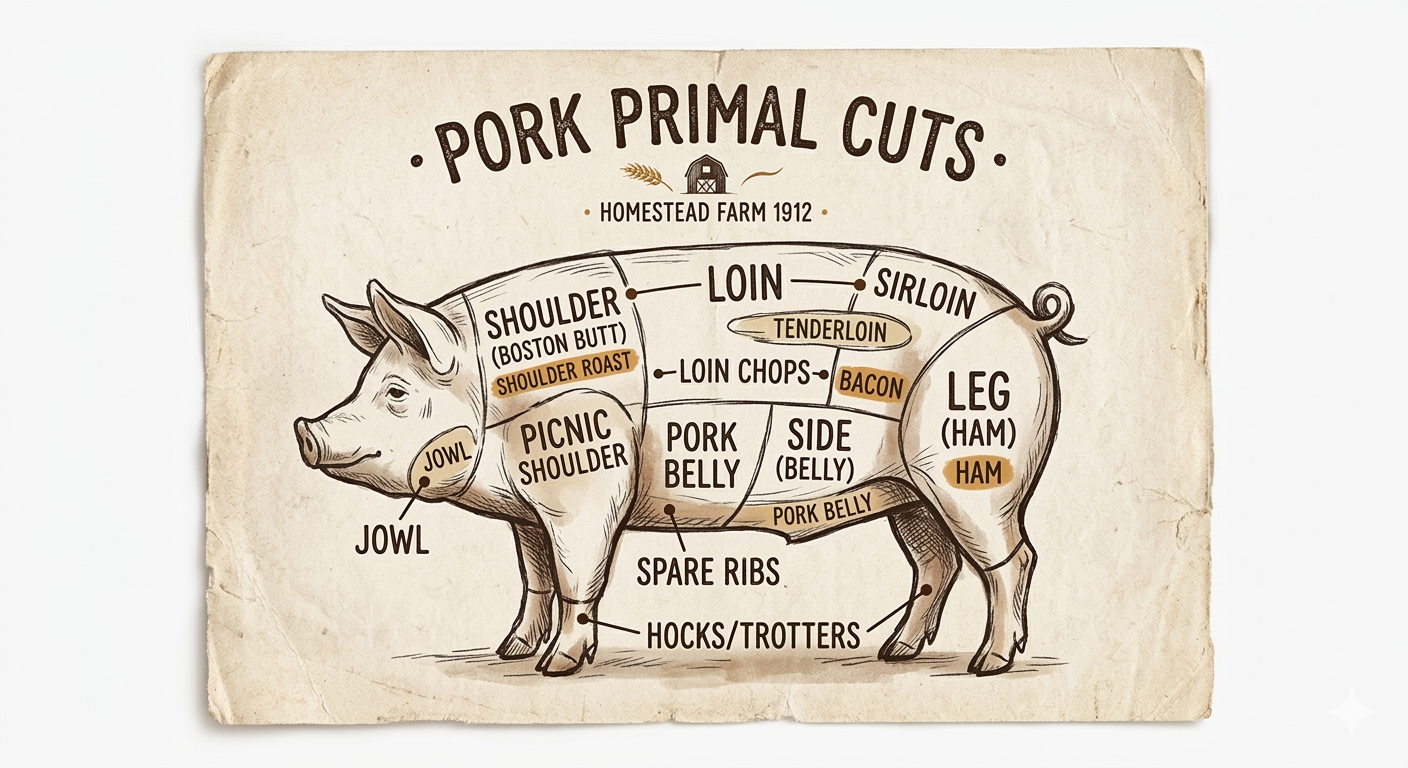
Once the meat is cold and the fat is firm, you are ready to learn how to cut up a whole pig. We break the side of pork into five “primals.”
- The Shoulder: This consists of the Boston Butt (top) and the Picnic Shoulder (bottom). The Butt is the premier cut for pulled pork, while the Picnic is often used for roasts or grind.
- The Loin: This is the long strip of tender meat along the back. It’s where your pork chops and loin roasts come from.
- The Belly: Located under the ribs. This is almost exclusively used for bacon or pancetta.
- The Ham: The large muscular hind leg. It can be kept whole, cut into steaks, or cured.
- The Trim: These are the small bits of high-quality meat left over. This is your future sausage and ground pork.
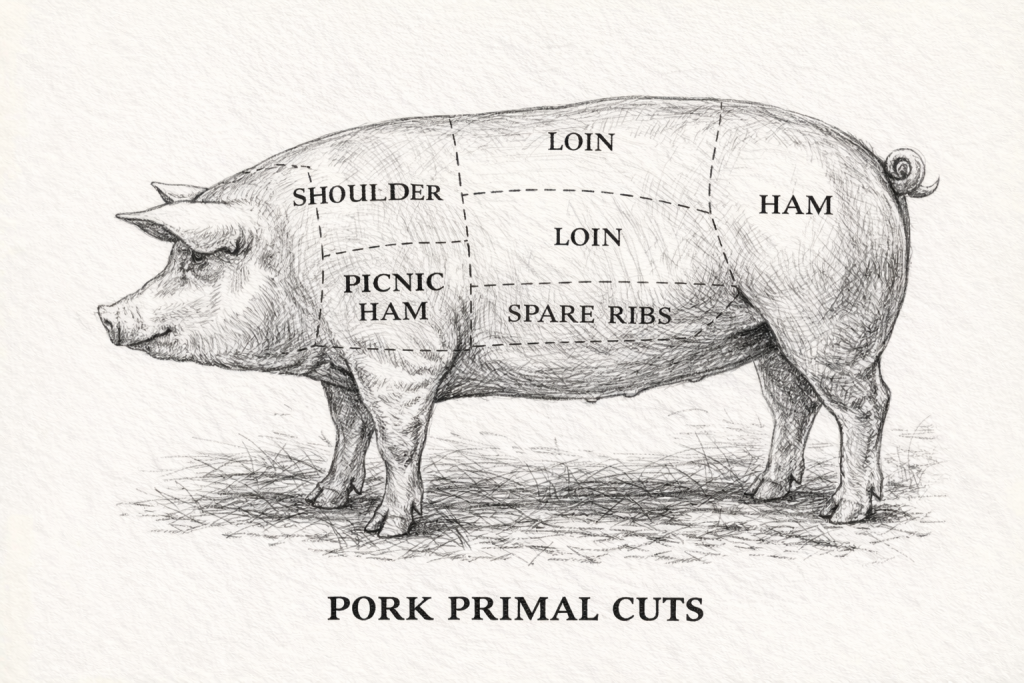
Understanding these sections makes it easier to decide how you want your pork packaged.
Turning a Whole Hog Into Usable Cuts
Once the carcass is divided into primals you can begin cutting individual portions.
Common pork cuts include:
- Pork chops
- Pork roasts
- Spare ribs
- Bacon slabs
- Ground pork
- Sausage
Many homesteaders grind a significant portion of the pig into sausage because it stores well and is very versatile.
Your personal preferences will determine how much of each cut you make.
Understanding the Pork Cut Sheet
A pork cut sheet tells the butcher how you want your pig processed.
It determines choices like:
- Chop thickness
- Roast sizes
- Bacon curing
- Sausage seasoning
- Package sizes
Planning your cut sheet ahead of harvest day makes the process much smoother.
You can plan your cuts using the interactive pork cut sheet builder on this site.
How Much Meat Do You Get From a Pig
A common question new pig owners ask is how much pork they will actually take home.
A typical example looks like this.
Live pig weight
250 pounds
Hanging weight
180 pounds
Packaged meat
130 to 150 pounds
The final yield depends on several factors including breed, fat content, and how the pig is cut.
Understanding these numbers helps you plan freezer space and packaging.
Use our Freezer Space Calculator to estimate how much space you need.
Tools That Make Butchering a Pig Easier
Having the right equipment can make harvest day much smoother.
Helpful tools include:
Gambrel and hoist system
Allows you to safely lift and hang the carcass.
Bone saw
Makes splitting and trimming much easier.
Boning knives
Essential for clean meat cutting.
Meat grinder
Turns trim into ground pork and sausage.
Vacuum sealer
Improves freezer storage life.
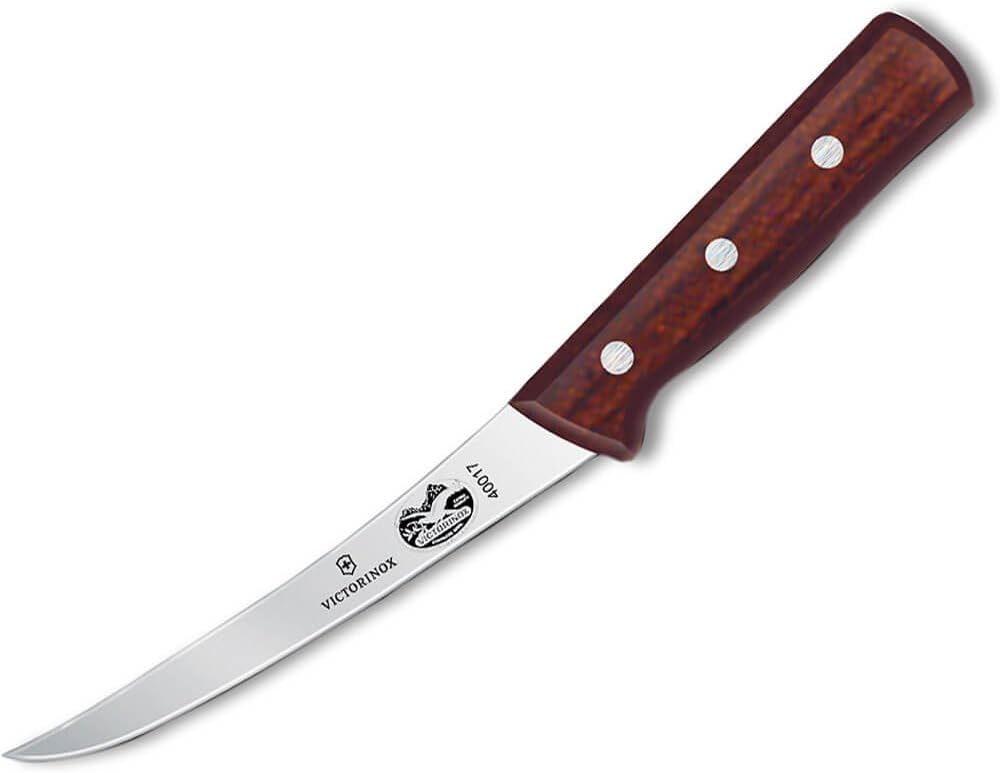
Boning Knife
Essential for clean trimming, deboning, and breaking down cuts.
Check Price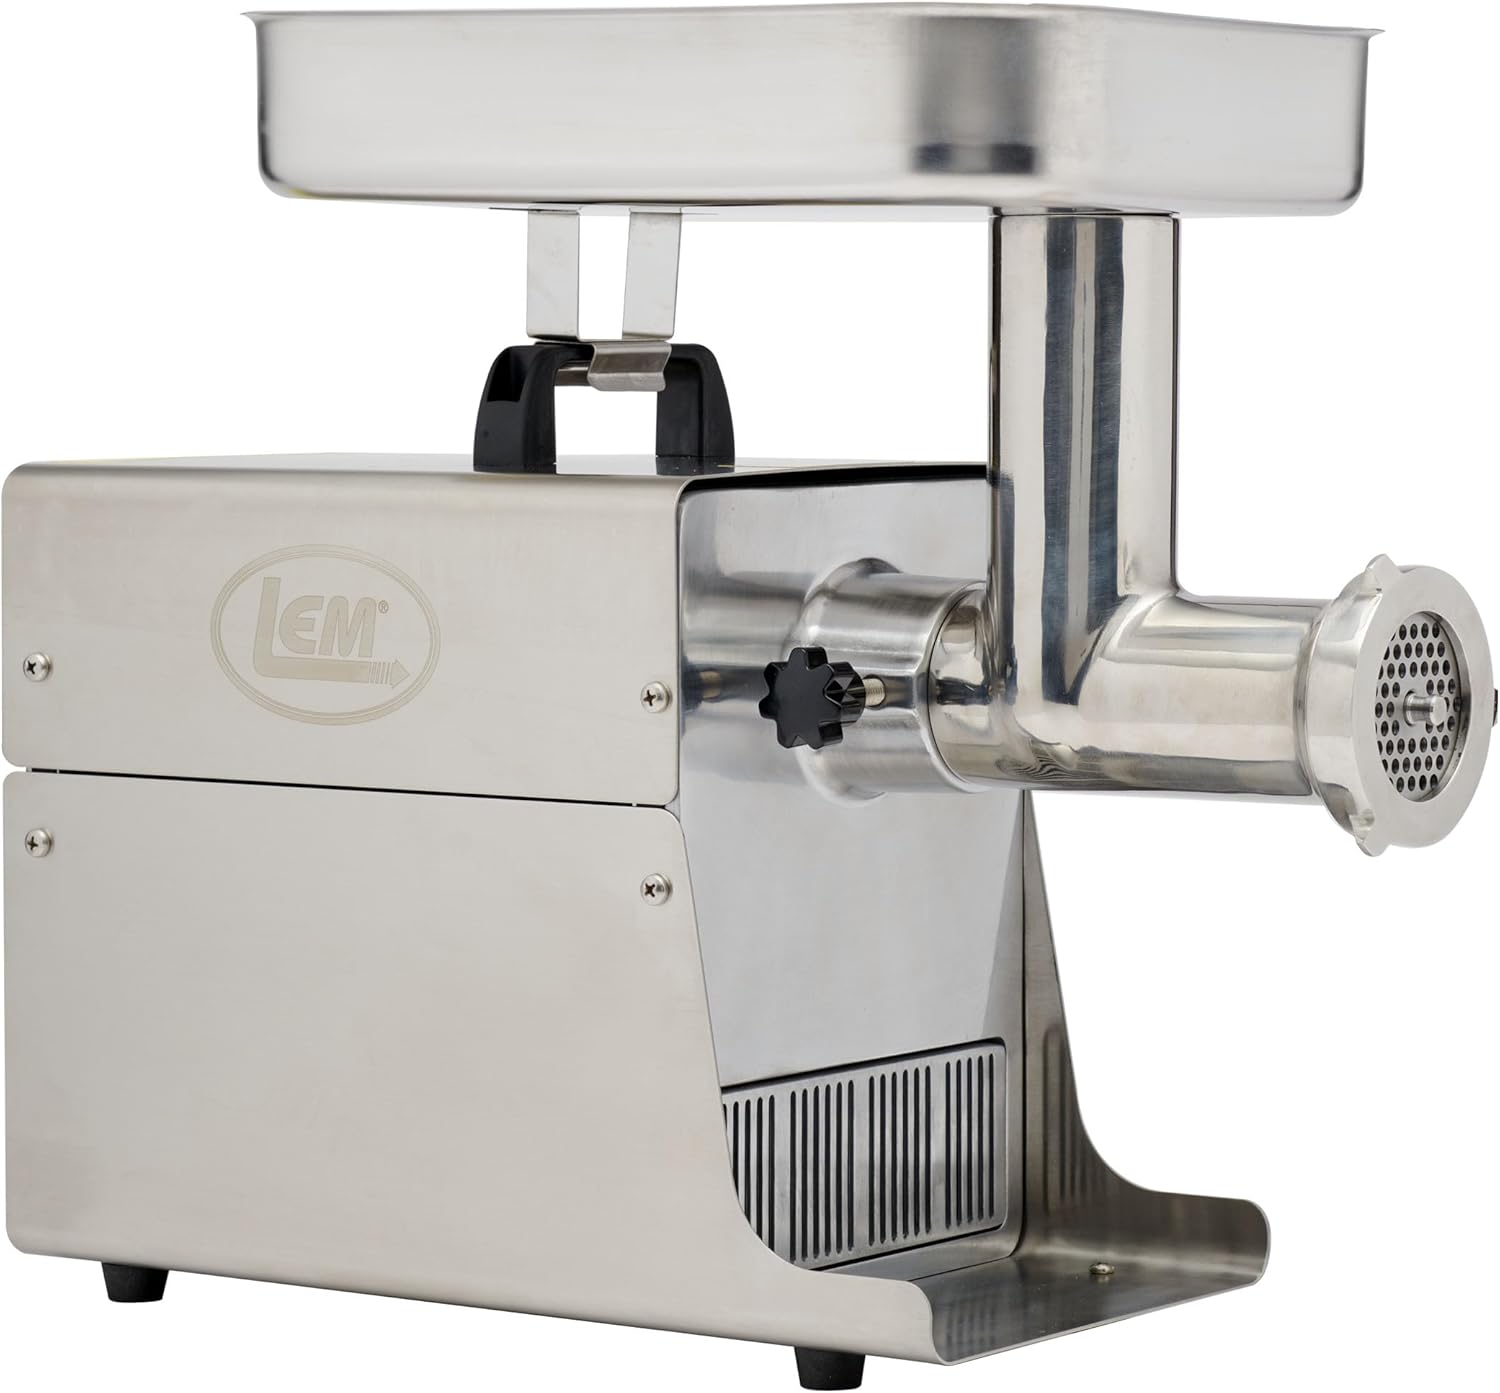
Meat Grinder
Turns trim into ground pork and sausage fast and cleanly.
Check Price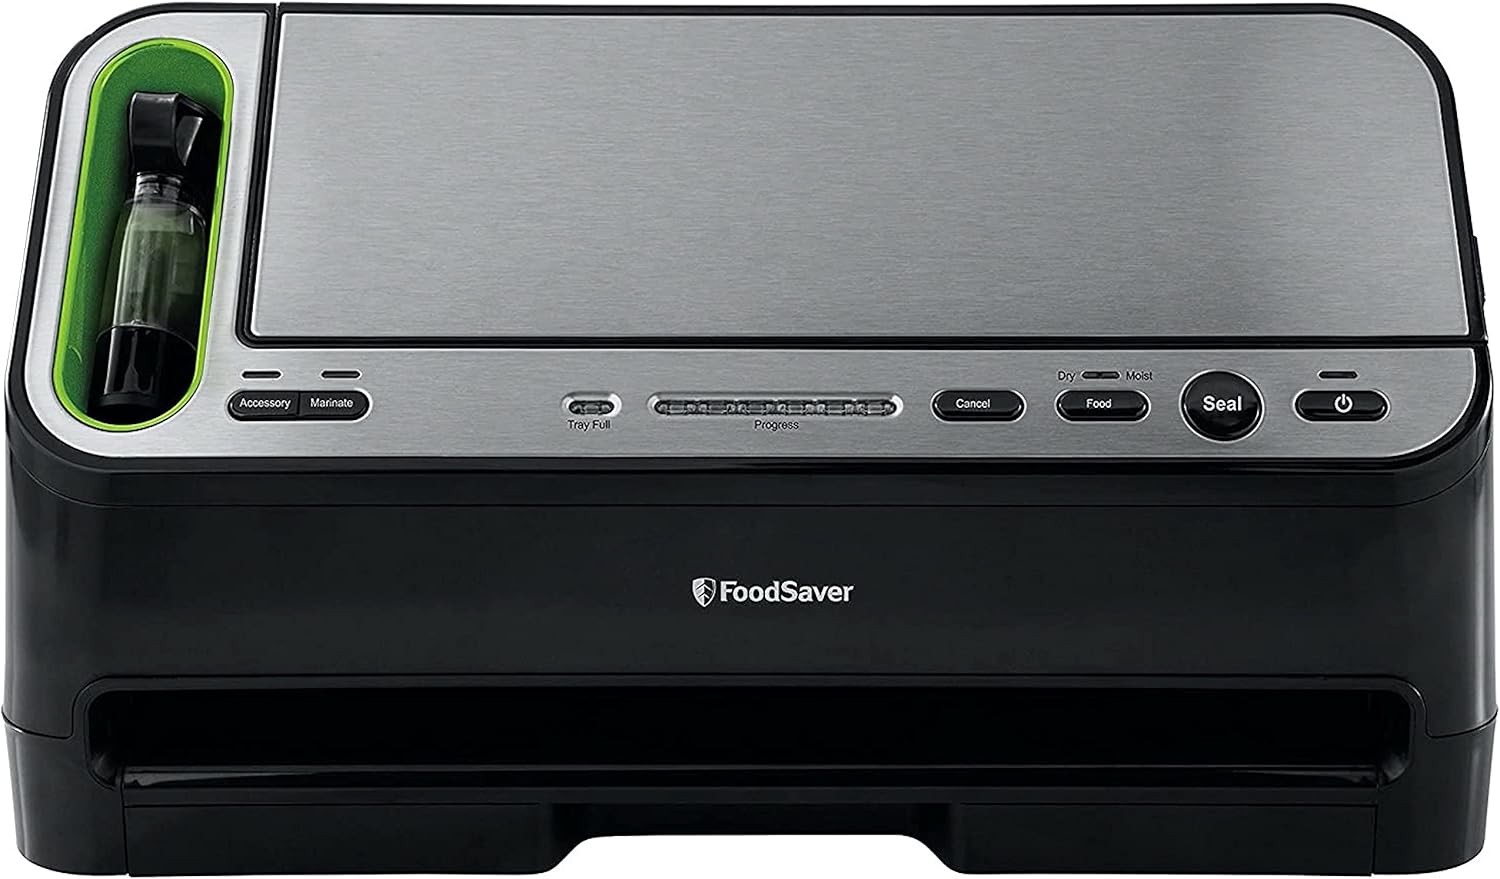
Vacuum Sealer
Helps package pork neatly and extends freezer storage life.
Check PriceWhen It Makes Sense to Use a Local Processor
Processing your own pork is rewarding but it is not always the best choice.
A local processor may be better if:
- You want cured bacon or smoked ham
- You lack cold storage space
- You plan to sell pork
- Your state requires inspected processing
You can search the processor directory on this site to find butchers in your area.
Frequently Asked Questions About Butchering a Pig
Can you butcher a pig at home without hanging it?
Yes. Many homesteaders butcher a pig at home on tables or pallets. However hanging the carcass makes gutting, skinning, and splitting much easier.
What temperature is best for butchering a pig at home?
Cold weather between 28°F and 40°F is ideal because it keeps the meat cool while you work.
Do you have to scald a pig before butchering?
No. Scalding is only required if you want to keep the skin on. Many homesteaders skin their pigs instead.
How much freezer space does a whole pig require?
A whole hog typically requires 4 to 5 cubic feet of freezer space depending on cut sizes.
How long should a pig hang before butchering?
A pig should hang and chill for 24 to 48 hours at 33°F to 40°F before final cutting. This allows rigor mortis to pass and firms the fat so the meat cuts cleanly.
Final Thoughts
Learning how to butcher a pig at home connects you directly to your food and gives you full control over how your pork is handled.
The first harvest day can feel intimidating, but preparation makes a huge difference.
Have your tools ready, plan your cuts ahead of time, and work carefully through each step.
After processing a few pigs the workflow becomes second nature and harvest day turns into one of the most satisfying parts of raising livestock.