How to Butcher a Cow at Home: Step-by-Step Guide for Homesteaders
Introduction
If you’ve raised your own beef cattle, you already know the satisfaction of doing things yourself — from calving season to the pasture. Learning how to butcher a cow at home is the final chapter of that story, and honestly, it’s one of the most rewarding skills a homesteader can add to their toolkit.
Let’s be upfront: beef processing at home is not easy. A full-grown steer can weigh 1,200 lbs or more on the hoof. You’re not going to do this alone with a folding table and a kitchen knife. It requires real equipment, a solid plan, at least one experienced helper, and a lot of cold storage.
But here’s why it’s worth it: you control every step. You know exactly what went into that animal. You keep cuts that processors often don’t return to you. And you save hundreds — sometimes thousands — of dollars in processing fees.
This guide walks you through the full process of breaking down a cow at home, from harvest day prep through hanging, splitting, aging, and final butchering. We’ll tell you where it gets hard, what you absolutely need, and how to make it work on a real homestead.
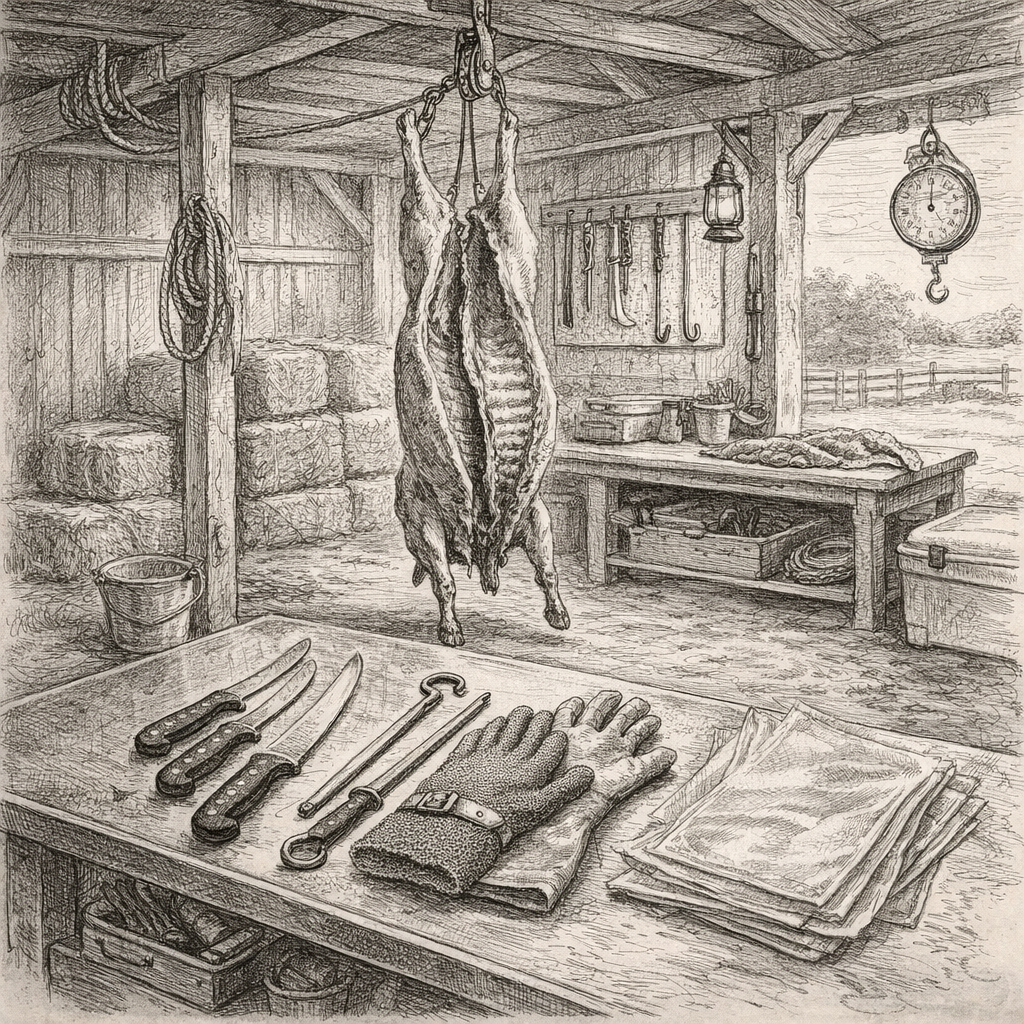
Table of Contents
This article contains affiliate links. As an Amazon Associate I earn from qualifying purchases.
What You Need to Know Before You Start
Before you schedule a harvest day, there are a few non-negotiables. Skipping any of these is how you end up with wasted meat, a ruined day, or a genuine safety problem.
Legal Considerations
In most U.S. states, you can legally slaughter and process beef on your own property for personal or household consumption without USDA inspection. However, you cannot sell uninspected beef — not even at a farmers market. If you’re butchering beef for a neighbor, CSA, or any sale, you’ll need to work within your state’s meat processing regulations. Check with your state department of agriculture before you proceed.
Know Your Animal
Beef cattle should be off grain and on grass or hay for at least a few weeks before harvest. Avoid stressing the animal in the 24–48 hours before slaughter — stress causes adrenaline release, which negatively affects meat quality (this is called dark cutting beef). Don’t run cattle through tight chutes or let them mix with unfamiliar animals.
Plan Your Cold Storage First
This is where most first-timers get in trouble. A 1,200-lb steer yields roughly 400–500 lbs of packaged beef. Before you harvest, you need to know where it’s all going to go. You’ll need a walk-in cooler, a large commercial chest freezer, or arrangements with a neighbor. A standard kitchen refrigerator will not cut it.
Ideal hanging temperature for aging beef is 34–38°F. You need a reliable way to maintain that for 7–21 days if you want to dry-age the carcass.
Recruit Help
Plan on having at least 2–3 experienced people for harvest day. Skinning a 1,200-lb animal, removing the viscera, and splitting the carcass are physically demanding and require multiple sets of hands. If this is your first time, strongly consider having an experienced mentor present. There is no substitute for hands-on guidance on your first beef.

Tools and Equipment for Home Beef Butchering
Breaking down a cow is not the same as processing a deer or even a hog. The scale changes everything. Here’s what you actually need:
Harvest and Field Equipment
- Firearm or captive bolt pistol (for humane slaughter)
- .22 long rifle (minimum), 5.56, .38 Special, or .308 for cattle — captive bolt stunner preferred for close quarters
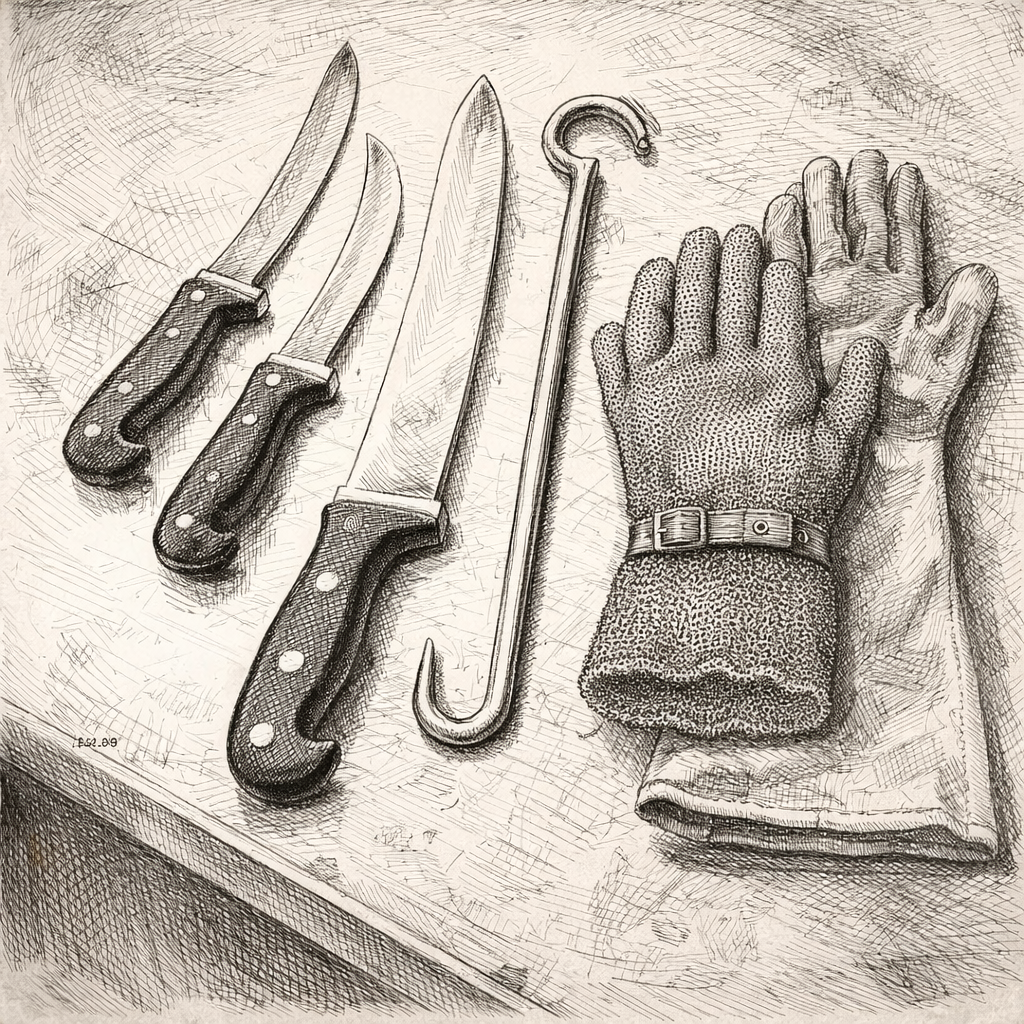
- Sharp, fixed-blade skinning knife (6–8″ blade minimum)
- Sticking/bleeding knife (6″ straight blade)
- Gambrel and heavy-duty block-and-tackle or electric hoist — rated for 1,500+ lbs
- Skid loader, tractor with loader, or front-end loader for moving the carcass
- Garden hose with high-pressure nozzle for carcass wash
- Large clean tarps or food-grade plastic

VEVOR Electric Hoist, 1760 lbs 120V
Cost effective hoist that gets the job done.
Check Price on AmazonProcessing Equipment
- Meat saw or reciprocating saw with bone blades (for splitting the backbone)
- Bone bandsaw — this is the gold standard; consider renting if unavailable
- Boning knives (stiff and flexible, 6″)
- Butcher’s Scabbard
- Breaking knife (10–12″ curved blade)
- Scimitar/cimeter knife for large muscle work
- Steel honing rod — sharpen constantly
- Large stainless work table (48″x96″ minimum)
- Meat grinder — 1 HP or higher for volumes of beef
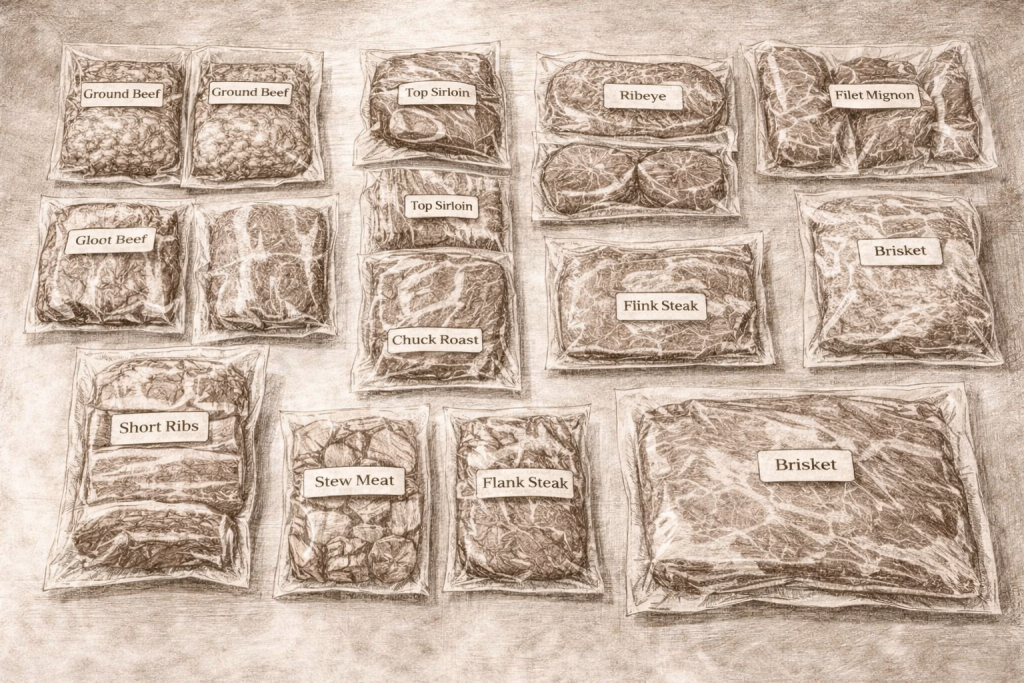
- Vacuum sealer with commercial bags
- Food-grade buckets and sheet pans
LEM Products BigBite #22 Meat Grinder, 1.0 HP Stainless Steel
Meat Grinder Ideal for Heavy Use
Check Price on AmazonSanitation and Safety
- Disposable gloves and heavy cut-resistant gloves
- Waterproof butcher’s apron
- Food-safe sanitizing solution (Star San or bleach solution)
- Multiple knife sterilization containers
- Paper towels and shop rags — bring far more than you think
Step 1 — Harvest Day: Humane Slaughter
The most important thing you can do for meat quality and animal welfare is make the slaughter quick, calm, and effective. A stressed animal means compromised meat. A botched shot means suffering and chaos.
Positioning
Bring the animal calmly to your harvest location. Ideal setup is a small pen or chute where the animal can stand calmly without seeing other cattle being processed. Have your hoist and gambrel already rigged and ready nearby.
Shot Placement — Firearm
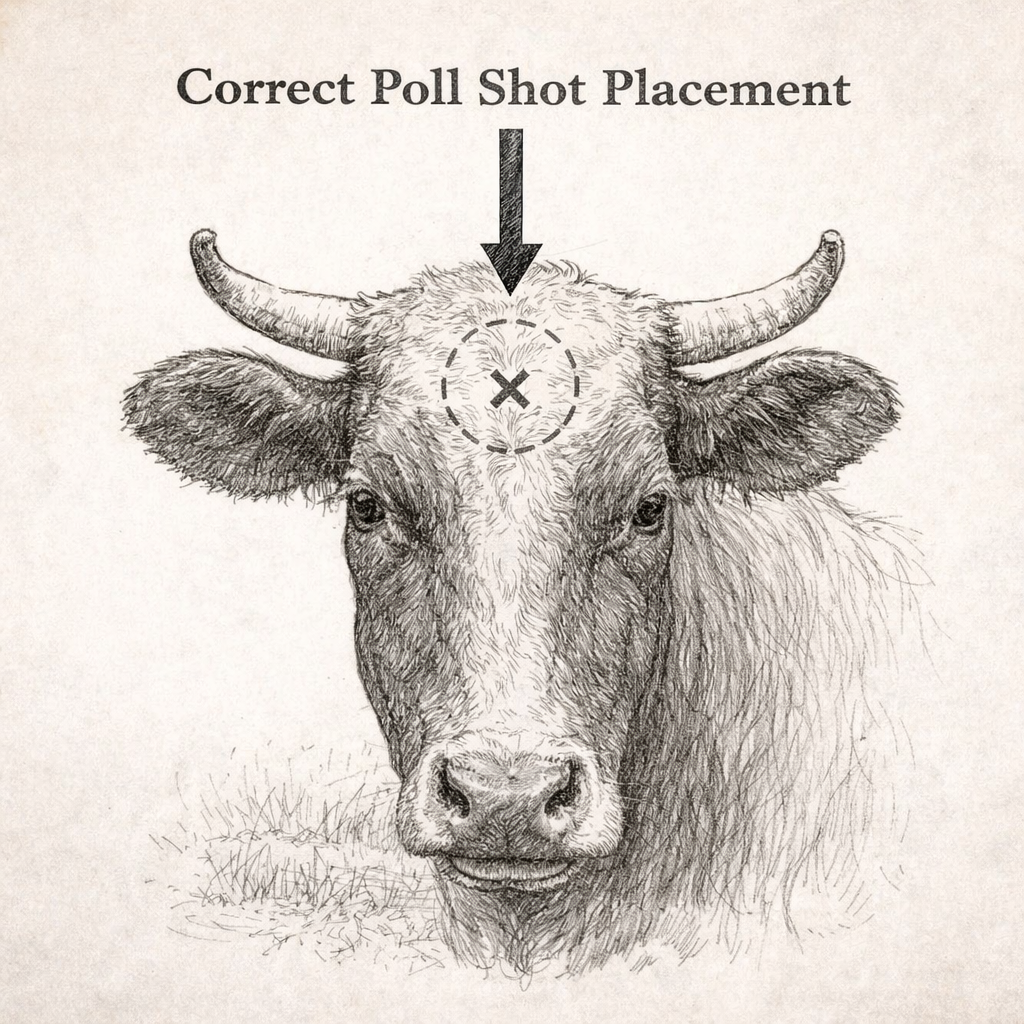
For a firearm kill, aim for the poll shot: draw an X between the center of each eye and the base of each horn (or where horns would be). The center of that X is your target. This placement enters the brain and causes immediate unconsciousness and death. Use a minimum of .22 LR with a solid point, though .38 Special or larger is more reliable for cattle. AR-15 works perfect.
Shot Placement — Captive Bolt
A captive bolt stunner renders the animal immediately unconscious but does not kill it. After stunning, you must sever the carotid arteries immediately (sticking) to complete the harvest. A captive bolt is preferred by many homesteaders for its reliability and safety in confined spaces.
Sticking — Bleeding the Carcass
Immediately after the animal goes down, elevate the front end or hoist the animal partially while still alive (if using captive bolt) and make a deep incision at the base of the neck to sever the carotid artery and jugular vein. Allow full bleed-out — plan for 5–10 minutes. Proper bleeding is critical to meat quality and shelf life.
⚠️ This is a physically demanding and emotionally intense step. Have your helper steady the animal. Work quickly and decisively.
Step 2 — Bleeding, Skinning, and Eviscerating
Once the animal is bled out, you’ll hoist it fully and begin skinning. On a 1,200-lb steer, this is serious physical work — plan for 1–2 hours for an experienced crew, longer for beginners.
Hoisting the Carcass
Insert the gambrel through the Achilles tendons of both rear legs and hoist the animal to a comfortable working height — typically so the head hangs about 18–24 inches off the ground. You need a rated hoist and a solid overhead structure (a barn beam, tripod, or dedicated A-frame rated for 2,000+ lbs).
⚠️ Do not underestimate the weight. A hanging 1,200-lb steer is dangerous to work around. Make sure your overhead structure and hoist are absolutely rated for the load.
Skinning
- Remove the head: cut through the atlas joint between the skull and first vertebra.
- Remove the lower legs at the knee and hock joints using a saw.
- Make your initial cuts: open the skin along the belly from sternum to pelvis, being careful not to puncture the abdominal cavity.
- Work the skin down from the belly toward the sides, using your fist to separate fascia from skin — ‘fisting’ the hide.
- Use a knife only to cut connective tissue, not to saw through the hide.
- Work the hide off the back and over the shoulders last.
The hide from a full-grown steer weighs 80–120 lbs. Have a helper manage it as it comes free. If you want to tan the hide, salt it immediately flesh-side up, fold, and set aside.
Eviscerating (Gutting)
This is where beef differs significantly from hog processing — the abdominal cavity is enormous, and the rumen (first stomach) alone can hold 40–50 gallons of fermenting material. Puncture it and you have a major contamination problem.
- Tie off the bung (rectum) with twine before beginning — this prevents fecal contamination.
- Make a careful incision through the abdominal wall, using two fingers to guide the knife blade away from the viscera.
- Work from pelvis to sternum slowly and deliberately.
- Support the viscera with both arms as they drop — this takes a helper.
- Cut through the diaphragm and reach up to free the esophagus.
- Lower all viscera into a clean wheelbarrow or large tub.
- Remove the heart, liver, and kidneys if saving for consumption — set aside on ice immediately.
- Split the sternum with a meat saw or reciprocating saw.
- Rinse the carcass cavity thoroughly with cold water.
Step 3 — Splitting the Carcass
Unlike a hog, a beef carcass is split into two sides (called sides or halves) by sawing directly through the center of the backbone. This is one of the most physically demanding parts of the job and ideally requires a bone saw or reciprocating saw with a quality bone blade.
Why This Step Is Harder on Cattle
A beef backbone is massive. A hog’s backbone can often be split with a handsaw; a steer’s cannot. You need a reciprocating saw with a long, aggressive bone blade, or ideally a commercial meat bandsaw. Plan for this step to take 15–30 minutes if using a reciprocating saw.
- Using a saw, start at the tail end of the backbone (pelvis) and work toward the neck.
- Cut directly down the center of the spinal column — staying centered keeps both sides equal.
- Have a helper steady each side as it opens; unsupported sides can swing.
- Work slowly through the thicker sections of the lumbar vertebrae.
- Once split, you’ll have two matching sides of beef, each hanging from a separate hook.
Each side of a 1,200-lb steer will weigh approximately 250–300 lbs. Make sure your hanging system is rated accordingly and that you have a way to transport the sides to your aging cooler.

Step 4 — Hanging and Aging the Beef
Aging is where the magic happens — and where homesteaders often cut corners to their detriment. Properly aged beef is more tender and develops richer flavor. Rushing this step is a mistake.
Dry Aging Temperature
Maintain 34–38°F with moderate airflow. A dedicated walk-in cooler is ideal. Some use a well-insulated outbuilding in cold weather (sustained temps below 40°F). Do not attempt to age beef in temperatures above 40°F — this is a food safety line, not a guideline.
Minimum and Optimal Aging Times
- Minimum: 7 days (adequate tenderness)
- Standard: 14 days (recommended)
- Extended dry-age: 21–28 days (develops more complex flavor, requires humidity control and regular inspection for mold)
During aging, check the carcass every 1–2 days. Surface mold (white or blue-green) is normal on dry-aged beef and is trimmed before processing. Black or slimy areas indicate spoilage — if in doubt, discard that section.
Wet Aging
If you don’t have reliable cold storage for hanging, individual primal cuts can be vacuum-sealed immediately and wet-aged in the refrigerator for 7–21 days. This works, but most homesteaders find it more convenient to hang first and then break down.
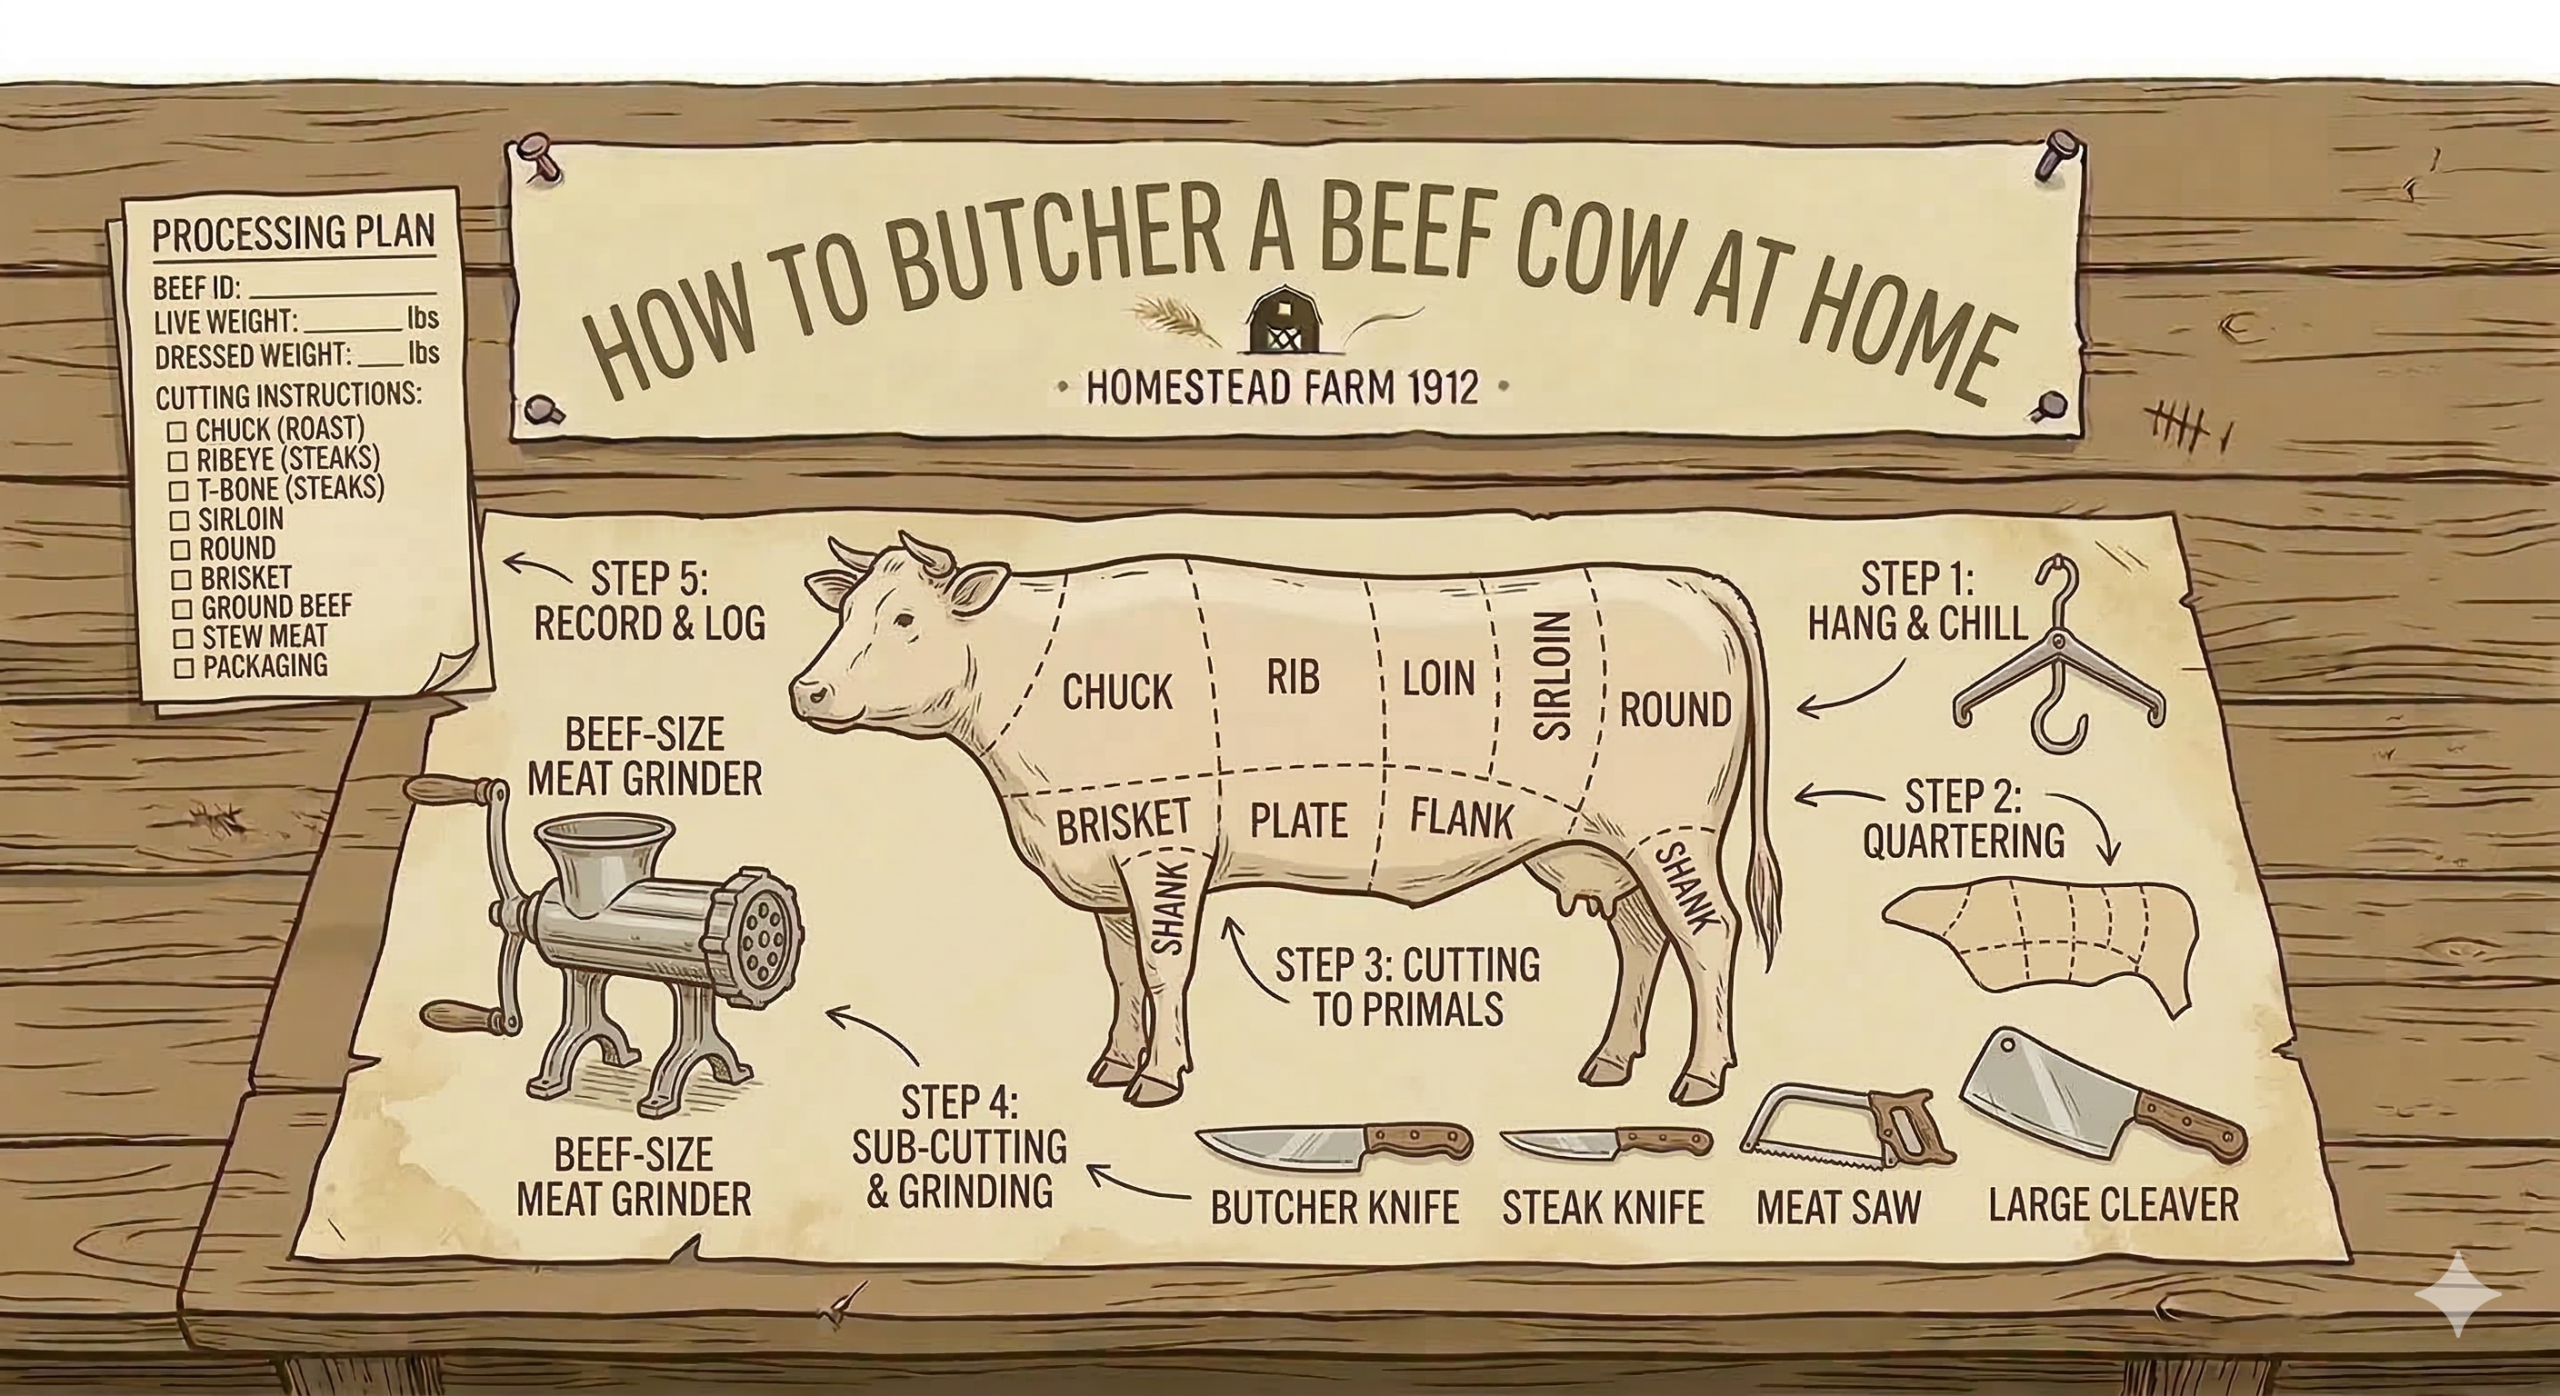
Step 5 — Breaking Down the Primal Cuts
After aging, you’ll bring each side to your work table and begin breaking it into primal cuts. This is where your work table, bone saw, and boning knives earn their keep.
A beef carcass is divided into eight major primal sections. Each side of beef contains half of each primal.
The Eight Beef Primals
- Chuck (shoulder)
- Rib
- Loin (Short Loin + Sirloin)
- Round (hindquarter)
- Brisket (lower chest)
- Plate (lower rib/belly)
- Flank
- Shank (fore and hind)
Working Order
- Start by separating the hindquarter from the forequarter — saw through between the 12th and 13th rib.
- From the hindquarter: separate the round, loin (short loin + sirloin), and flank.
- From the forequarter: separate the chuck, rib, brisket, plate, and shank.
- Keep each primal wrapped in plastic or covered while you work the others.
- Work one primal at a time through to your desired retail cuts before moving to the next.
Having a printed beef cuts reference chart on the wall of your processing area is strongly recommended for first-timers.
Step 6 — Sub-Primal and Retail Cuts
This is where the work gets familiar — these are the cuts you actually put on the table. We’ll cover the most practical cuts for homestead processing.
You can plan your cuts using our free interactive beef cut sheet builder.
Chuck (Shoulder)
- Chuck roast — one of the most versatile cuts, perfect for slow cooking
- Chuck steaks — affordable, well-marbled
- Ground beef — chuck trim makes excellent 80/20 ground beef
- Stew meat — cube the trim for soups and stews
Rib
- Prime rib / standing rib roast — leave bone-in for maximum impact
- Ribeye steaks — bone-in or boneless, cut 3/4″ to 1″ thick
- Back ribs — the bones trimmed from boneless ribeyes
Short Loin
- T-bone and Porterhouse steaks — cut through with the bone saw
- Strip steaks (NY Strip) — remove the bone for boneless strips
- Tenderloin — the most prized cut; remove whole and slice into filet mignon
Sirloin
- Top sirloin steaks — excellent everyday eating
- Sirloin roast — great for oven roasting
- Tri-tip — popular on the West Coast, underutilized elsewhere
Round (Hindquarter)
- Top round — London broil, thin-sliced for sandwiches
- Bottom round — pot roast, cube steaks
- Eye of round — roasts, lean sandwich meat
- Sirloin tip roast
- Round steaks — budget-friendly, best braised
Brisket
- Whole packer brisket (flat + point) — the backyard BBQ gold standard
- Can be split into flat and point for different cooking applications
Plate and Flank
- Skirt steak — outstanding for fajitas
- Flank steak — marinate and grill
- Short ribs — bone-in plate section, exceptional braised
- Hanger steak — the butcher’s secret; incredibly flavorful
Shanks and Trim
- Osso buco cuts from the hind shank (cross-cut with bone saw)
- Fore shank — great for stock and soup
- All remaining trim → ground beef
How Much Meat Can You Expect from a Cow?
This is one of the most common questions homesteaders have going into their first beef harvest. Here’s the honest answer:
Typical yield from a 1,200-lb market steer is 430–500 lbs of packaged beef.
- Live weight: 1,200 lbs
- Hanging weight (after hide, head, legs, viscera): 700–750 lbs (58–62% of live weight)
- Packaged take-home weight (after trim, bone, aging loss): 430–500 lbs (roughly 60–65% of hanging weight)
So from a 1,200-lb steer, plan on taking home approximately 430–500 lbs of packaged beef. That includes roasts, steaks, ground beef, and trim.
Approximate cut breakdown from one steer:
- Ground beef and stew meat: 180–200 lbs (the single largest category)
- Roasts: 75–100 lbs
- Steaks: 60–80 lbs
- Brisket: 20–30 lbs
- Short ribs and plate: 20–25 lbs
- Miscellaneous (shanks, organs, trim): 30–50 lbs
These numbers vary based on animal size, finish (fat cover), and how you choose to cut (more roasts = fewer steaks, and vice versa). A leaner grass-finished animal will yield slightly less than a grain-finished steer.
Use our beef cut sheet builder and select from preset cut sheets or build your own.
Frequently Asked Questions
How long does it take to butcher a cow at home?
For an experienced crew of 3, harvest day — from slaughter through split and hanging — takes 6–10 hours. Breaking down the carcass into retail cuts takes another full day, typically done after a week of hanging. Plan for two full work days total, spread across 7–14 days of aging.
Do you need a license to butcher a cow at home?
In most U.S. states, no license is required to slaughter and process cattle on your own property for personal or household use. You cannot legally sell uninspected beef. Laws vary by state, so check with your state’s department of agriculture before processing for anyone outside your immediate household.
What is the best age to butcher a beef cow?
Most beef cattle are harvested between 18–24 months of age, at a live weight of 1,000–1,400 lbs depending on breed and management. Grass-finished cattle are often harvested at 24–30 months. Older cows can be processed but will have tougher meat that benefits from slow cooking.
How much freezer space do I need for a whole cow?
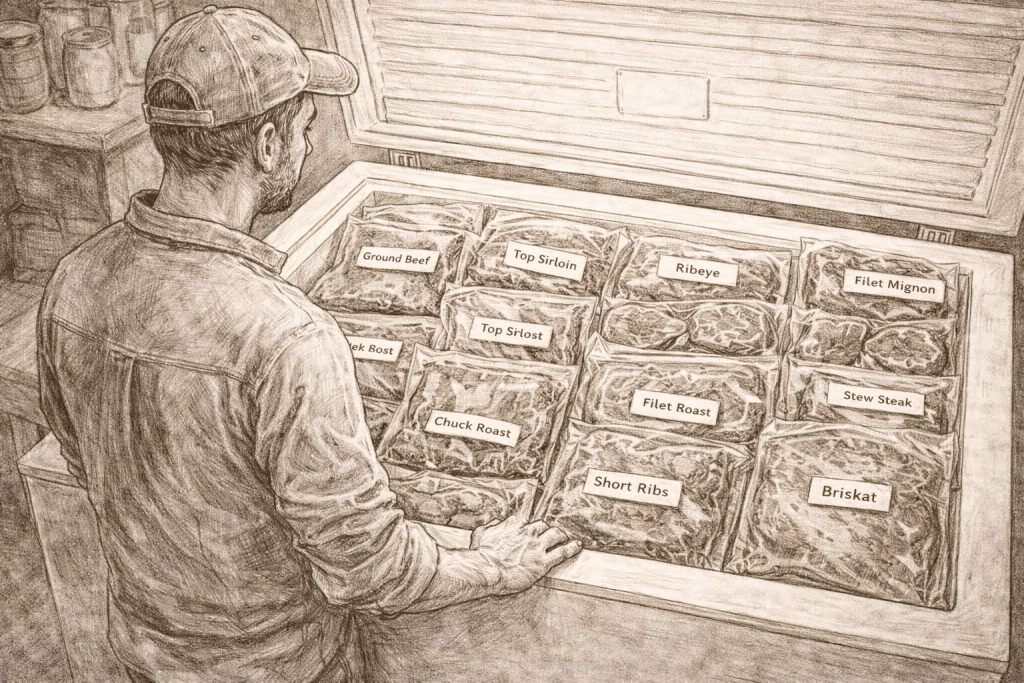
Plan on approximately 1 cubic foot of freezer space per 35–40 lbs of packaged beef. For a whole steer yielding 450 lbs of take-home meat, you’ll need 12–14 cubic feet of freezer space minimum. A large 20+ cubic foot chest freezer or two standard 15 cubic foot freezers is typical for a whole beef.
Can you butcher a cow without a walk-in cooler?
Yes, but it requires careful timing and conditions. You can butcher in cold weather when outdoor temperatures consistently stay between 34–40°F, using a well-ventilated barn or outbuilding. Many experienced homesteaders schedule beef harvest for late October through early December for this reason. Without reliable cold storage, you risk meat spoilage during aging.
How many steaks do you get from one cow?
From a typical 1,200-lb steer, you can expect approximately 60–80 lbs of steak cuts — roughly 25–40 ribeyes, 20–30 strip steaks, 12–16 T-bones, and 8–12 filets. The exact count depends on steak thickness (3/4″ vs 1″ vs 1.5″) and whether you cut bone-in or boneless.
Is it cheaper to butcher your own cow?
If you raise your own beef and butcher at home, yes — significantly. Custom processing fees typically run $0.50–$0.85 per pound of hanging weight, or $350–$600+ per steer. Butchering at home eliminates that cost. The tradeoff is 2–3 days of your own labor and the upfront cost of equipment.
If you want the participation of harvesting your own beef without multiple days of work consider harvesting and quartering yourself and then have the carcass brought to a butcher for hanging and processing.
Final Thoughts
Learning how to butcher a cow at home is one of those homestead skills that sounds intimidating at first. And then after you’ve done it you realize you were right to be intimidated.
If you have harvested a deer or lamb or chickens before you know what it is to take the life of an animal. However, an animal the size of a steer is different. At least for me it was. It is physically significant for sure, but it can be far more heavy viscerally and emotionally. Prepare for that.
It is more work than processing a hog or deer. The scale is different. The equipment needs are real. You need help, you need cold storage, and you need patience during aging. But the payoff — a chest freezer full of high-quality beef you raised yourself, processed yourself, and know inside and out — is hard to beat.
After your first beef, you will understand the anatomy, you see where the cuts come from, and you feel a deep satisfaction in knowing exactly where your food came from and how it was handled.
Start by attending a beef harvest as a helper before you run your own. Watch. Ask questions. Get your hands dirty. There’s no substitute for experience when you’re standing in front of a 1000lb steer lying on the ground with a knife in your hand.
When you’re ready, you’ll know. And now you’ve got the roadmap.
— End of Article —
Internal links to add: [link to related post: ‘How to Raise Beef Cattle for Slaughter’], [link to: ‘Best Chest Freezers for Homesteaders’], [link to: ‘How to Dry Age Beef at Home’]
Meta description: Learn how to butcher a cow at home with this complete step-by-step homesteader’s guide. Covers harvest, skinning, aging, beef cuts diagram, and how much meat from a cow.